Tubeless Tyres - Come on Everyone!
You’re still not riding tubeless? What the **** is wrong with you?
“I don’t know how to fix it. I don’t know what it is. I don’t understand it. I don’t know how you do it. I don’t get it. I’ve read some horror stories.”
That’s what everyone who’s never actually taken the time to learn about it says!
I genuinely can’t believe we’re still having this conversation, and it’s now 2025. Tubeless has been around for ages—like, I’m talking 20 years ago when I was at University. I had my first mountain bike set up with tubeless tyres back then. It was a Trek with Bontrager wheels and they sold this separate tubeless kit with the bike. You’d stick it in the rim, pump up the tire, add some sealant and boom— you were tubeless. Even then, it felt revolutionary.
And now, in 2025, we’re still having this debate! Seriously?
The technology has come so far that tubeless should be the default, with very few exceptions. So let’s start there—why the hell wouldn’t you go tubeless?
Don’t know how to set it up? That’s not an excuse—just take it to your bike shop. The only legit excuse I can think of is if you’re someone who barely rides, leaves their bike in the garage for months at a time and then dusts it off when you’re back home. Sure, in that case, the sealant might dry up, and you might have trouble reinflating it. Fine. Stick with tubes if that’s you. But for everyone else? No excuse. Let’s break it down. Imagine your tube is sitting inside your tire.

Now, take that tube out. Replace it with a valve, add some sealant and that’s it. The only invisible extras are the tubeless tape and sealant.
Here’s the deal: the first critical part of the system is the rim and tape. The tape has to be perfect and this is where most people mess up. If the tape isn’t applied with absolute precision, you’ll have problems. This is where the horror stories come from. If you’re not confident, take your wheel to the bike shop and get them to show you how to do it right.
Once the tape is sorted, you install the valve (nice and tight to create a good seal), fit your tubeless tire, inflate it, and boom—you’ve got a tubeless setup. But remember, it must be a tubeless tire. Don’t throw any old shit on there and expect it to work.
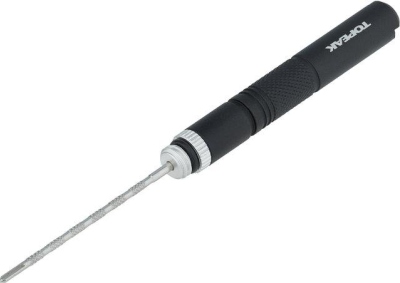
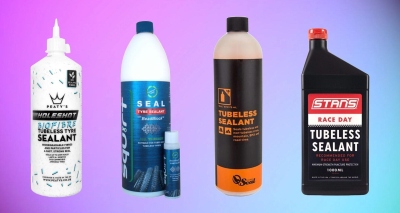
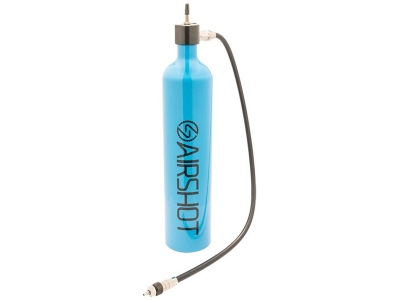
Consider all the things you may need to make your life less stressful! A few simple choices and tools will make this project a pleasure!
Even with a perfect setup, the tire might lose a bit of air initially. That’s normal. If it holds air for a few hours, you’re good to go. Then, add sealant—around 50-60ml for road tires, 100-120ml for mountain bike tires. Once that’s done, you’re all set. You’ll enjoy lower pressures, less rolling resistance, reduced weight, and best of all, puncture resistance.
Get a thorn in your tire? 99% of the time, the sealant will sort it out and you won’t even notice. If it doesn’t seal? Don’t freak out. Rotate the wheel downward so that the hole where the sealant is 'spurting' out, is at the bottom of your wheel. It will then seal. What if it doesn't? Stay calm - That’s what tubeless repair plugs are for.
Never heard of them? Probably because you bailed on tubeless after reading half an article and getting scared. A repair plug is a tiny slug that you push into the hole, pull back and it fills the gap, letting the sealant do its job. It’s not a permanent fix, but it’ll get you home. And if that doesn’t work? Fine—stick a f****** tube in and carry on.
Seriously, stop overthinking it. Tubeless is easier, faster and better. If you’re still riding tubes, maybe it’s time to ask yourself why you’re clinging to the past. Unless your still Hanging out with your ex-wife too?
More from the Journal


